

Epoxy Flooring Basement
BACKGROUND
Most flooring is made of concrete (garages, warehouses, basements, etc.). Concrete flooring offers many benefits including heat resistance and toughness. The drawbacks also follow: very little resistance to acids, chemicals, erosion and damage, as well as it being difficult to clean.
Due to the apparent disadvantages of concrete floors, nowadays many business owners use epoxy flooring basement for commercial and industrial floors to protect the floors from abrasive or chemical damages; saving money in the long term, and enhancing the value of their business.
CHEMISTRY
Epoxy Chemistry:
All epoxy technology used in the coating industry today is comprised of two essential components, a resin (epoxy) and a hardener (amine blends), reacting together to form a tough strong plastic material. Sometimes there is third component filler (aggregate). These types of reactions are known as "exothermic reactions". The initial gelation reaction takes place within minutes to a few hours, and then continues reacting slowly afterwards for 7 days, gradually getting harder and tougher. Epoxy coatings are formulated based upon the performance requirements for the end product. When properly catalyzed and applied, epoxies produce a hard, chemical and solvent resistant finish.
The proper use of epoxy flooring basement requires that the following critical components be strictly followed:
1. Material Conditioning:
If the storage temperature is too cold, the epoxy resin (and possibly the hardener too) will become too thick to both measure out and to mix efficiently. The applied material will be tacky and hard to apply. The curing speed will be slow and the mixed material (coating) will take a prolonged period to set and fully cure. It is very important to allow the material to condition to room temperature (20°C-24°C) prior use.
2. Proper Mixing Ratio:
The resin and hardener are usually supplied in pre-measured units to facilitate mixing. It is highly recommended to use the material as units to avoid mistakes in measuring both Part A and B. However, if the circumstances require breaking up the unit into smaller quantities, make sure that you follow the mixing ratio by volume as per data sheet. A small measuring container, such as a plastic jar, may be used as long as you make sure that the material is scraped from the wall to minimize the loss. An excess of one component relative to the other, or the mixing ratio deviating from the right mixing ratio on the containers will adversely affect the chemical link-up (the cure) thereby damaging the performance.
3. Adequate Mixing:
When you combine both components together, it is vital that the material be mixed thoroughly until uniformity is obtained. The unmixed material at the bottom or on the wall of the mixing container should be scraped and remixed to ensure homogeneity; the failure to do so will result in soft patches on the floor of uncured material.
4. Pot Life (Working Time):
Once epoxy coatings of Part A and B are combined together, the mixed material has to be used immediately. The longer the mixed material remains in the container, the thicker the consistency of the product. The viscosity starts to build up as the reaction progresses. Prior to reaching the gel point, the viscosity will drop and the temperature of the container will rise sharply, causing smokes prior to the material turning into gel. It is critical therefore to apply the material as soon as it is thoroughly mixed. This is more critical with 100% solid coatings (solvent free) than those containing solvent as solvent acting, since heat sink reduces the speed of the reaction.
5. Site Condition:
The epoxy coating should only be applied at temperature ranges between 10°C to 30°C. Also, ensure the surface (substrate) temperature is also at 10°C or higher. Do not apply in hot afternoons or under direct sunlight.
Flooring
1. Epoxies:
Epoxy resins were the first technology to become established in the flooring market and continue to be the best. Epoxy flooring basement offers the flooring industry the following advantages:
- Excellent adhesion to almost all construction materials
- Easy to install (long working time)
- Very low shrinkage during curing
- Adheres to damp surfaces
- Excellent chemical resistance
- High mechanical strength and abrasion resistance
- Excellent handling properties
- Not affected by humidity during applications
- Low maintenance cost
- Relatively safe and environmentally friendly
The only disadvantages of epoxy flooring basement are its poor mar and scratch resistance and the lack of low temperature curing capability (below 5°C, 40°F). Also, traditional epoxy technology has poor color stability under UV for exterior applications and tends to be brittle. Nevertheless, some of these problems have now been overcome with new state-of-the art epoxy technology such as ours.
Waterborne Epoxy:
In response to environmental concerns and other health and safety regulations, waterborne epoxy technology has been evolving. Although they have gained wide acceptance in coatings and the paint industry, their use in the industrial flooring application has been less extensive. Most of the current uses of waterborne epoxy are limited to maintenance floor coatings for non-critical applications, or for topcoat sealers on trowel-applied epoxy floors. Their lower chemical & abrasion resistance and higher cost, relative to 100% solids epoxy are still the major issues. Waterborne epoxy primers, on the other hand, have gained a remarkable ground in the flooring industry, partially because of their excellent adhesion to damp surfaces. Furthermore, they offer faster drying times (initial set), increased latency, low VOC content and the ability to be cleaned.
Flooring Types:
There are several types of installations of polymer floorings in this industry. The selection of any particular floor finish will depend on the traffic and other exposure conditions as well as the aesthetic requirements.
There are three main classes for flooring:
- Thin Coatings: 0.2-0.4 mm (8 to 16 mils) dry film thickness
- Self-Leveling: 1-3 mm (40 to 120 mils), applied in combination with a fine sand aggregate
- Heavy-Duty Trowel Applied System: 5-12 mm (1/8 to 1/4") thickness, applied in combination with a factory-controlled aggregate blend
2.1. Epoxy Coatings
High build coatings are high solids (over 90%) or a 100% solids material applied by a squeegee in two-coat applications (primer + top coat) to a dry film thickness of 15-20 mils. This type of flooring offers rapid installation and good protection against chemical, wear and abrasion. A sand or alumina aggregate may lightly be broadcasted onto the floor for slip resistance and back roll to encapsulate the aggregate onto the coating. Alternatively, Zeraus offers non-slip additives that can be mixed in and applied by squeegee and roller generating much more uniform attractive finishes. For heavy-duty applications, a fully seeded system may be used in conjunction with an epoxy tie coat sealer.
2.2. Self-Leveling Floors
These are usually three-part epoxy systems, consisting of an epoxy resin, a hardener and a blend of fine sand aggregate (50 to 200 mesh), filler content: 55-75%. They are applied using a notch squeegee and spike roller. Due to the excellent inherited self-leveling property, the material flows to form a monolithic smooth, hard, and glossy surface of 60 to 120 mils thickness in a single coat application. This installation is gaining significant acceptance in the industry in Europe and the Far East, and as much in North America. It is particularly suitable for warehouses, showrooms, laboratories and manufacturing processing facilities.
2.3. Trowel Floors (Heavy Duty)
Troweled floorings are generally used in heavy industrial application or selective commercial applications. Fillers such as sands are incorporated in the matrix to improve wear and impact resistance; filler content: 80-90%. The system is typically applied by using a hand trowel or power trowel machine to a thickness of up to 1/4 inches, depending on the product type and the site requirements. Trowel applied installations may also include decorative colored quartz floorings.
APPLICATION
The success of the flooring installation depends upon:
- Conditions and use with which the finished floor will have to withstand
- Proper product selection
- Suitable job conditions and substrates
- Proper installation procedures
ZERAUS' responsibility is to supply you with quality controlled materials for epoxy flooring basement. The installer's responsibility is to prepare the surface, apply the materials properly, evaluate the substrate and the job conditions, and to determine the suitability of the product for the job.
LIMITATIONS
ZERAUS' epoxy flooring basement systems are not recommended for use on:
- Concrete less than one month old
- Any unsound substrate
- Substrate with moisture content exceeding 3% as per ASTM D4263
- Non-hardening sealants and caulking
- Form-release agents containing wax or oil
- Silicone-coated surfaces
- Expansion joints
- Soluble stains
- Painted surfaces (unless tested for adhesion and compatibility)
- Efflorescence on concrete and masonry
- Asphalt surfaces
Areas where water seepage exists. Ground water seeping into a concrete floor (on or below grade) can cause delaminating, even when this water is present only during a brief wet season. If there is any possibility of ground water seepage, a raised plywood floor should be installed over the concrete.
Note: If in doubt about a particular substrate or condition contact your ZERAUS representative for a consultation.
SAFE USE OF MATERIALS
During the installation of a seamless floor, a temporary hazardous area is created due to the flammability and/or toxicity of materials that are present. Proper fresh air ventilation should be provided. After drying and curing, the materials are safe.
The hardeners used with most epoxy resins may cause skin irritation or sensitization. If contact, with skin occurs, the affected area should be rinsed thoroughly with soap and water. Do not wash with solvent as this will only accelerate absorption into the skin. The use of protective latex or rubber gloves is recommended. Wash exposed skin (arms, face, neck, etc.) with soap and water periodically, particularly before lunch, quitting time and work breaks. Use a hand or skin conditioner to replace natural skin oils before and after each work day.
Change work clothes at least daily. Remove clothing covered by spilled or splashed epoxy material, allow it to cure (dry) then wash it before re-use.
By keeping the workplace neat and clean, and observing proper personal hygiene requirements, ZERAUS epoxy flooring basement materials can be applied safely. For additional information, refer to the product material safety data sheet.
EQUIPMENT
The following list provides the minimum tool requirements for the successful installation of ZERAUS' epoxy flooring systems.
For Coating Application:
- Jiffy mixer
- 13 mm (1/2") electric drill - 300 to 500 r.p.m.
- 23 cm (9-1/2") paint roller cage with extension handle
- 5mm lint-free nap roller
- Mixing cans
- Squeegee (flat and notched squeegees)
- Paint brushes (for corners)
- Spike rollers (only for self-leveling floor or high build coatings)
- Long handled rollers
For Self-Leveling Application:
- Jiffy mixer
- 13 mm (1/2") electric drill - 300 to 500 r.p.m.
- 23 cm (9-1/2") paint roller cage with extension handle
- One flat squeegee
- Notched squeegee or screed bar
- Spiked shoes
- Spike rollers
For Trowel Application:
- 3" x 12" flat trowel
- 4" x 12" flexible trowel with blue blade
- 6" x 6" x 6" inner cove trowel - 1" radius
- 6" x 4" x 1/2" inner cove trowel - 1" radius
- 6" x 4" x 1-1/2" outer cove trowel - 1" radius
- Jiffy mixer
- 13 mm (1/2") electric drill - 300 to 500 r.p.m.
- Heavy duty mixing paddle for the above
- Floor flood light (for trowel applied floorings)
- Clean mixing pails
FLOOR TYPES AND TREATMENT
New Concrete
Laitance
The surface of new concrete is always weak, even on good, high-strength concrete. This is caused by vibration and troweling of concrete during the finishing process, which encourages the lighter components such as surplus Portland cement, fine aggregates and water to rise to the surface. This layer of "laitance" is typically very smooth and is a normal concrete surface finish. Laitance is present to a depth of approximately 0.05" and has very low tensile strength. Unless it is removed, it will limit the performance, and perhaps cause the failure of anything bonded to its surface.
Curing Compounds
Curing compounds are often sprayed onto wet concrete to act as a membrane to retard water evaporation while the concrete is curing. The chemicals used for such compounds are often fatty oils or resinous materials that can act as parting agents for any subsequently applied topping or coating. If possible, prohibit the use of such compounds as they must be removed before any subsequent topping is applied. If in doubt as to the surface condition, place a test patch and check the adhesion.
Concrete Curing Time
Concrete contains water, some of which is surplus. The concrete must be permitted to cure (age) for as long as possible before an epoxy topping is applied for the following reasons: One, the initial water content of the slab, its thickness, and the prevailing climatic conditions will all have a great effect on the aging time required. Two, the aging time should be as long as possible, with 28 days being regarded as the minimum.
Old Concrete
Each floor should be considered separately and its condition analyzed before making any decisions on placing a topping on it. Caution should be exercised before making any recommendations regarding the topping of concrete that has been exposed to soaps, sugars, cooking fats and other deeply penetrating substances. Traces of oils, asphalt and curing compounds can act as parting agents and should be removed by pre-cleaning prior to the surface preparation process. Old concrete is often deteriorated and presents a weak surface to bond to. Removal of this weak upper layer is required to ensure a successful project.
Steel
Any exposed steel over which a floor topping is to be placed must be sandblasted to white metal and vacuumed just prior to placing the topping. Steel surfaces should be free of dirt, grease, oil or rust. Blast surface using an angular medium such as aluminum oxide or grit to SSPC-SP10 standard, with a minimum profile of 2.5 mils. Where sandblasting is not practical, the surface should be de-greased and mechanically abraded to reveal continuous bright metal.
Wood
Wood is sometimes found as part of the sub-floor. Sanding or sandblasting followed by vacuum cleaning is recommended as cleaning methods. Contaminants must be entirely removed prior to coating. All wood floors must be filled and screwed (not nailed) down. Placing an epoxy floor topping over a sub-floor made entirely of wood is generally not recommended because of the many problems that may be encountered.
Tile
The treatment of tile will vary according to the type of tile. Usually an acid etch gives the best results. On some extremely acid resistant tiling, a sandblast and vacuum cleaning technique may be preferred.
Old Terrazzo
Old terrazzo should be treated the same as old concrete with the preferred method being mechanical scarification by grinding followed by vacuum cleaning.
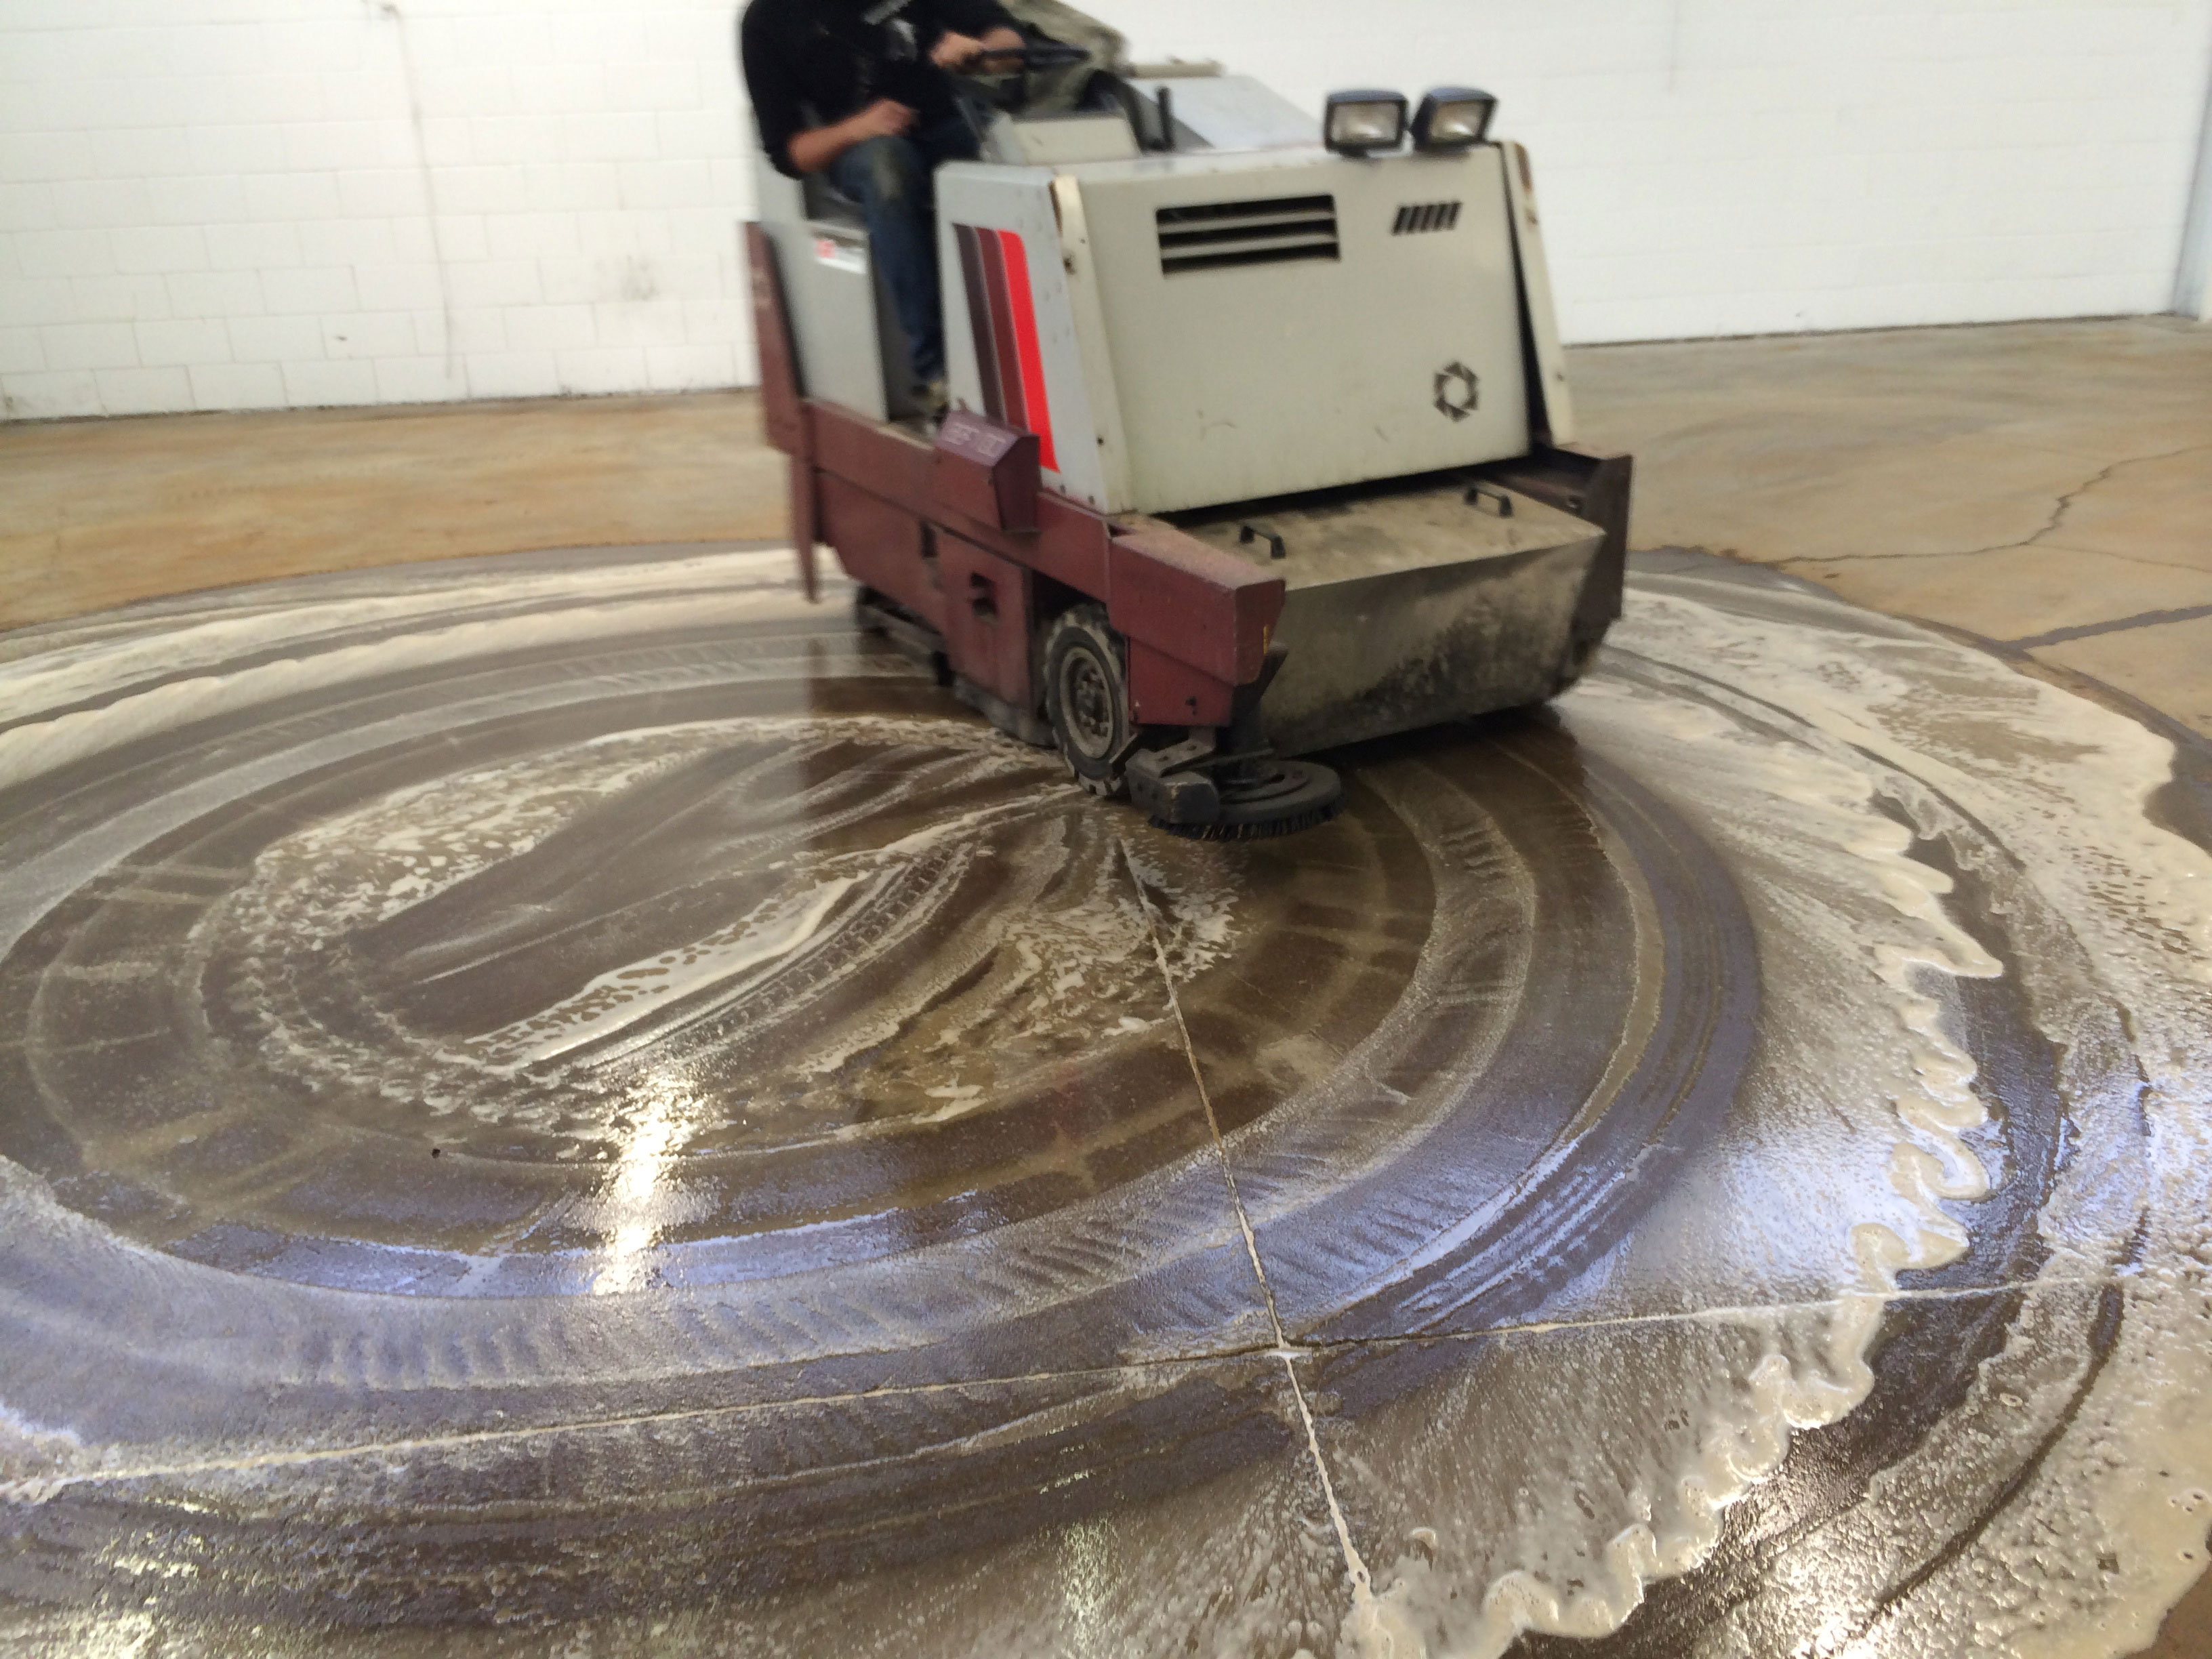
SURFACE PREPARATION OF CONCRETE SUB FLOORS
Pre-cleaning
All heavy deposits of dirt, asphalt, oils or greases must be removed before the final surface preparation. The best way of removing such deposits is by mechanical means, aided by grease cutting detergents of the non-ionic type. The detergent should be flushed off very thoroughly. For particularly stubborn contaminants, solvents like xylene may be useful aids if the appropriate safety precautions are observed. Care should be taken that the use of such solvents does not spread the contaminant over a larger area. Flush thoroughly to remove any detergent residue.
Preparation
All heavy deposits of dirt, asphalt, oils or greases must be removed before the final surface preparation. The best way of removing such deposits is by mechanical means, aided by grease cutting detergents of the non-ionic type. If solvent is used, care must be taken that the use of each solvent does not spread the contaminant over a larger area. All dust and loose particles must be entirely removed. Heavy duty industrial vacuum cleaning is the preferred method.
A. Surface Preparation
A.1) Shot Blasting: It is the most recommended technique for floor preparation, particularly when the substrate is heavily or deeply contaminated or has failing or inappropriate coatings for the intended service. Shot blasting is the most effective method of creating the right surface profile for bonding; it also increases the surface area for the new poured floor or adhesive for a much stronger bond. This is a one step process, fully contained in the equipment, whereby "shot" is hurled at the concrete to break small surface particles free, and then the blast media and contaminants are separated for reuse of the media and disposal of debris. A properly prepared surface will give the end user many years of service.
A.2) Diamond Grinding: This method is used for small decorative floors that require a smoother profile because of surface profile when a thin mil system is specified. It may be used for residential garages, basements or other similar small decorative jobs.
A.3) Acid Etching: Should mechanical cleaning prove impractical, then the surface may be prepared by acid-etching. Thoroughly flush and neutralize the acid with high pressure water and allow drying. Acid etching, although not as effective as a mechanical method, is a satisfactory way for concrete sub floor preparation. Acid etching should not be used if floors contain metallic floor hardeners or metal inserts or old paints.
Acid etching is the process of applying an acid solution to a concrete surface, allowing the acid to react with and 'etch' the concrete, providing a clean tooth for adhesion. Acid Etching of concrete is an acceptable, but is hardly used for commercial concrete surface preparation. However, because shot blasting requires special equipment and trained professionals, acid etching is perhaps the most practical and effective surface preparation method available to 'do it yourselfers'.
All dirt, oil, grease, wax, dust, release agents or other contaminants should be removed prior to etching the concrete. Oil and grease stains can be removed with a good quality oil stain remover. Dirt, grime and other debris can be removed by a pressure washer and scrubbing with a good concrete cleaner. Curing agents or sealers should be removed by chemically stripping or mechanical means using a floor grinder.
Caution:
Keep in mind, an acid that is strong enough to etch a concrete surface could cause severe injury when used improperly. Wear protective clothing, rubber gloves, boots and goggles or face shield, when handling acid. Avoid breathing acid vapors. Always add acid to water. Never add water to acid while in the process of diluting the etching solution. Protect all surfaces not being etched from accidental splashes or spills by masking off these areas. Leftover acid should be disposed of in an approved manner and according to local regulations. When using baking soda or bleach to neutralize acid, never add these materials to undiluted muriatic acid as a dangerous chemical reaction could occur.
B. Crack Repair & Patching
The following 3 steps must be taken for cleaning and repairing the concrete floor prior to the installation of high performance epoxy flooring basement:
- Clean the cracked surface.
- Dust and dirt should be blown out with dry compressed air.
- Use ZeraBond Type 3 to fill all cracks and holes.
Unsound Concrete: All unsound concrete must be removed. Care should be taken during removal to avoid damaging the surrounding concrete. Such damage can occur if heavy pneumatic hammers are used. Areas to be removed should be isolated by saw cutting and then removed by light hammers or by routing machines designed for such purposes. All dust should be removed by vacuum and/or blown away by compressed air.
Patching: Conventional high early strength pre-mixed concrete patching compounds should be used to repair unsound areas not suitable for resurfacing or coating. Adequate drying time should be allowed for the concrete patch to harden before placing an epoxy topping. Alternatively, epoxies may be used to fill cracks and holes in the concrete floor and to smooth the surface for the application of the epoxy topping. These require less curing time and when properly finished do not require further surface preparation if the epoxy is installed within 24 hours.
Pre-Testing of the Sub Floor: This test can be used to evaluate the surface strength of concrete, or the adhesive strength of concrete bonded to concrete, or the adhesion of a hardened epoxy coating already applied to concrete.
It can indicate whether:
- A concrete surface is sound enough to warrant an epoxy treatment
- A surface cleaning treatment had produced the desired results
- An epoxy has bonded adequately to a concrete surface
- An epoxy compound has been properly prepared and applied
Selection of Testing Area: Mark out the areas selected for the test. They should be large enough in number and positioned to give some indication of the overall condition of the concrete. Included should be some areas representing the worst conditions present i.e. wear, wet or areas of doubtful or previously contaminated concrete. Clean the surface of the concrete in the same way as specified and with the same degree of thoroughness to be expected for the complete job.
Test Methods
Adhesion Test:
This test method covers a procedure for evaluating the pull-out strength (commonly referred to as adhesion) of an epoxy coating primer by means of an apparatus known as an Elcometer pull-out adhesion tester according to ASTM D4541. This test is performed by securing a loading fixture (dolly) perpendicular to the surface of the coating with a high-performance epoxy adhesive. After the adhesion cures overnight, a testing apparatus is attached to the loading fixture and aligned perpendicular to the test surface. The force applied to the load fixture is then gradually increased and monitored until either a plug or coating material is detached at which a specific value (MPa) is recorded. The nature of failure is quantified in accordance with the percent of adhesion and cohesive failures and the location and type of failure observed.
Moisture Content Test: (MIXING AND APPLICATION GENERAL GUIDELINE)
AREA PREPARATION
For optimal performance, both the coating and substrate should be maintained at 18° to 30°C (68 to 86°F) for 24 hours prior to beginning work. The same temperature range should be maintained during mixing, application, and cure. Temperature will affect pot life and working characteristics of the epoxy materials. Humidity will also affect these characteristics, and caution is advised when working in humid conditions above 70%.
Application in direct sunlight and rising surface temperatures may result in blistering of materials due to expansion of entrapped air or moisture in the substrate. Concrete that has been in direct sunlight must be shaded 24 hours prior to application and remain shaded until after the initial set.
All epoxy flooring materials are two-component. In order for the material to harden, it is necessary to mix part "A" with part "B" in the stated ratio. Scrape down the sides of the pail with a long spatula or straight edge trowel to ensure uniform mixing. These materials will also react differently when subjected to temperature variations.
Normally, the warmer the material is, the faster it will react, dry and cure. Always stir the contents of all liquids before use. In the case of pigmented materials, use all pails from the same batch for each room in order to ensure color uniformity.
To ensure good inter-coat adhesion, the second coat (top coat) must be applied within 24 hours. If longer waiting periods are encountered, a light sanding and vacuuming is necessary.
Priming
Priming is recommended for most surfaces prior to the application of ZERAUS epoxy surfacing. Refer to the specific data sheet for recommendations.
Combine Parts "A" & "B" of the primer and mix thoroughly. Immediately string the material onto the floor around the edges. Spread primer evenly with a flat rubber squeegee and back roll with a short nap thick pile roller. Dry film thickness should be 3-5 mils depending on the porosity of the surface. Avoid puddles.
Allow the primer to stand for a few hours until the surface is tacky, and then proceed with the surfacing application. Alternatively, silica sand can be broadcasted lightly onto the primer while wet so that the surface is non-skid for the troweling application the next day. If left for more than 24 hours the primer must be re-coated.
Mix thoroughly. Immediately string the mixture onto the floor and spread to an even thickness (5 mils) using a squeegee and further level using a short nap thick pile roller. After approximately 15 minutes, while the material is still tacky, roll back one more time to remove bubbles arising from out-gassing. This coat would serve as a primer and concrete sealer.
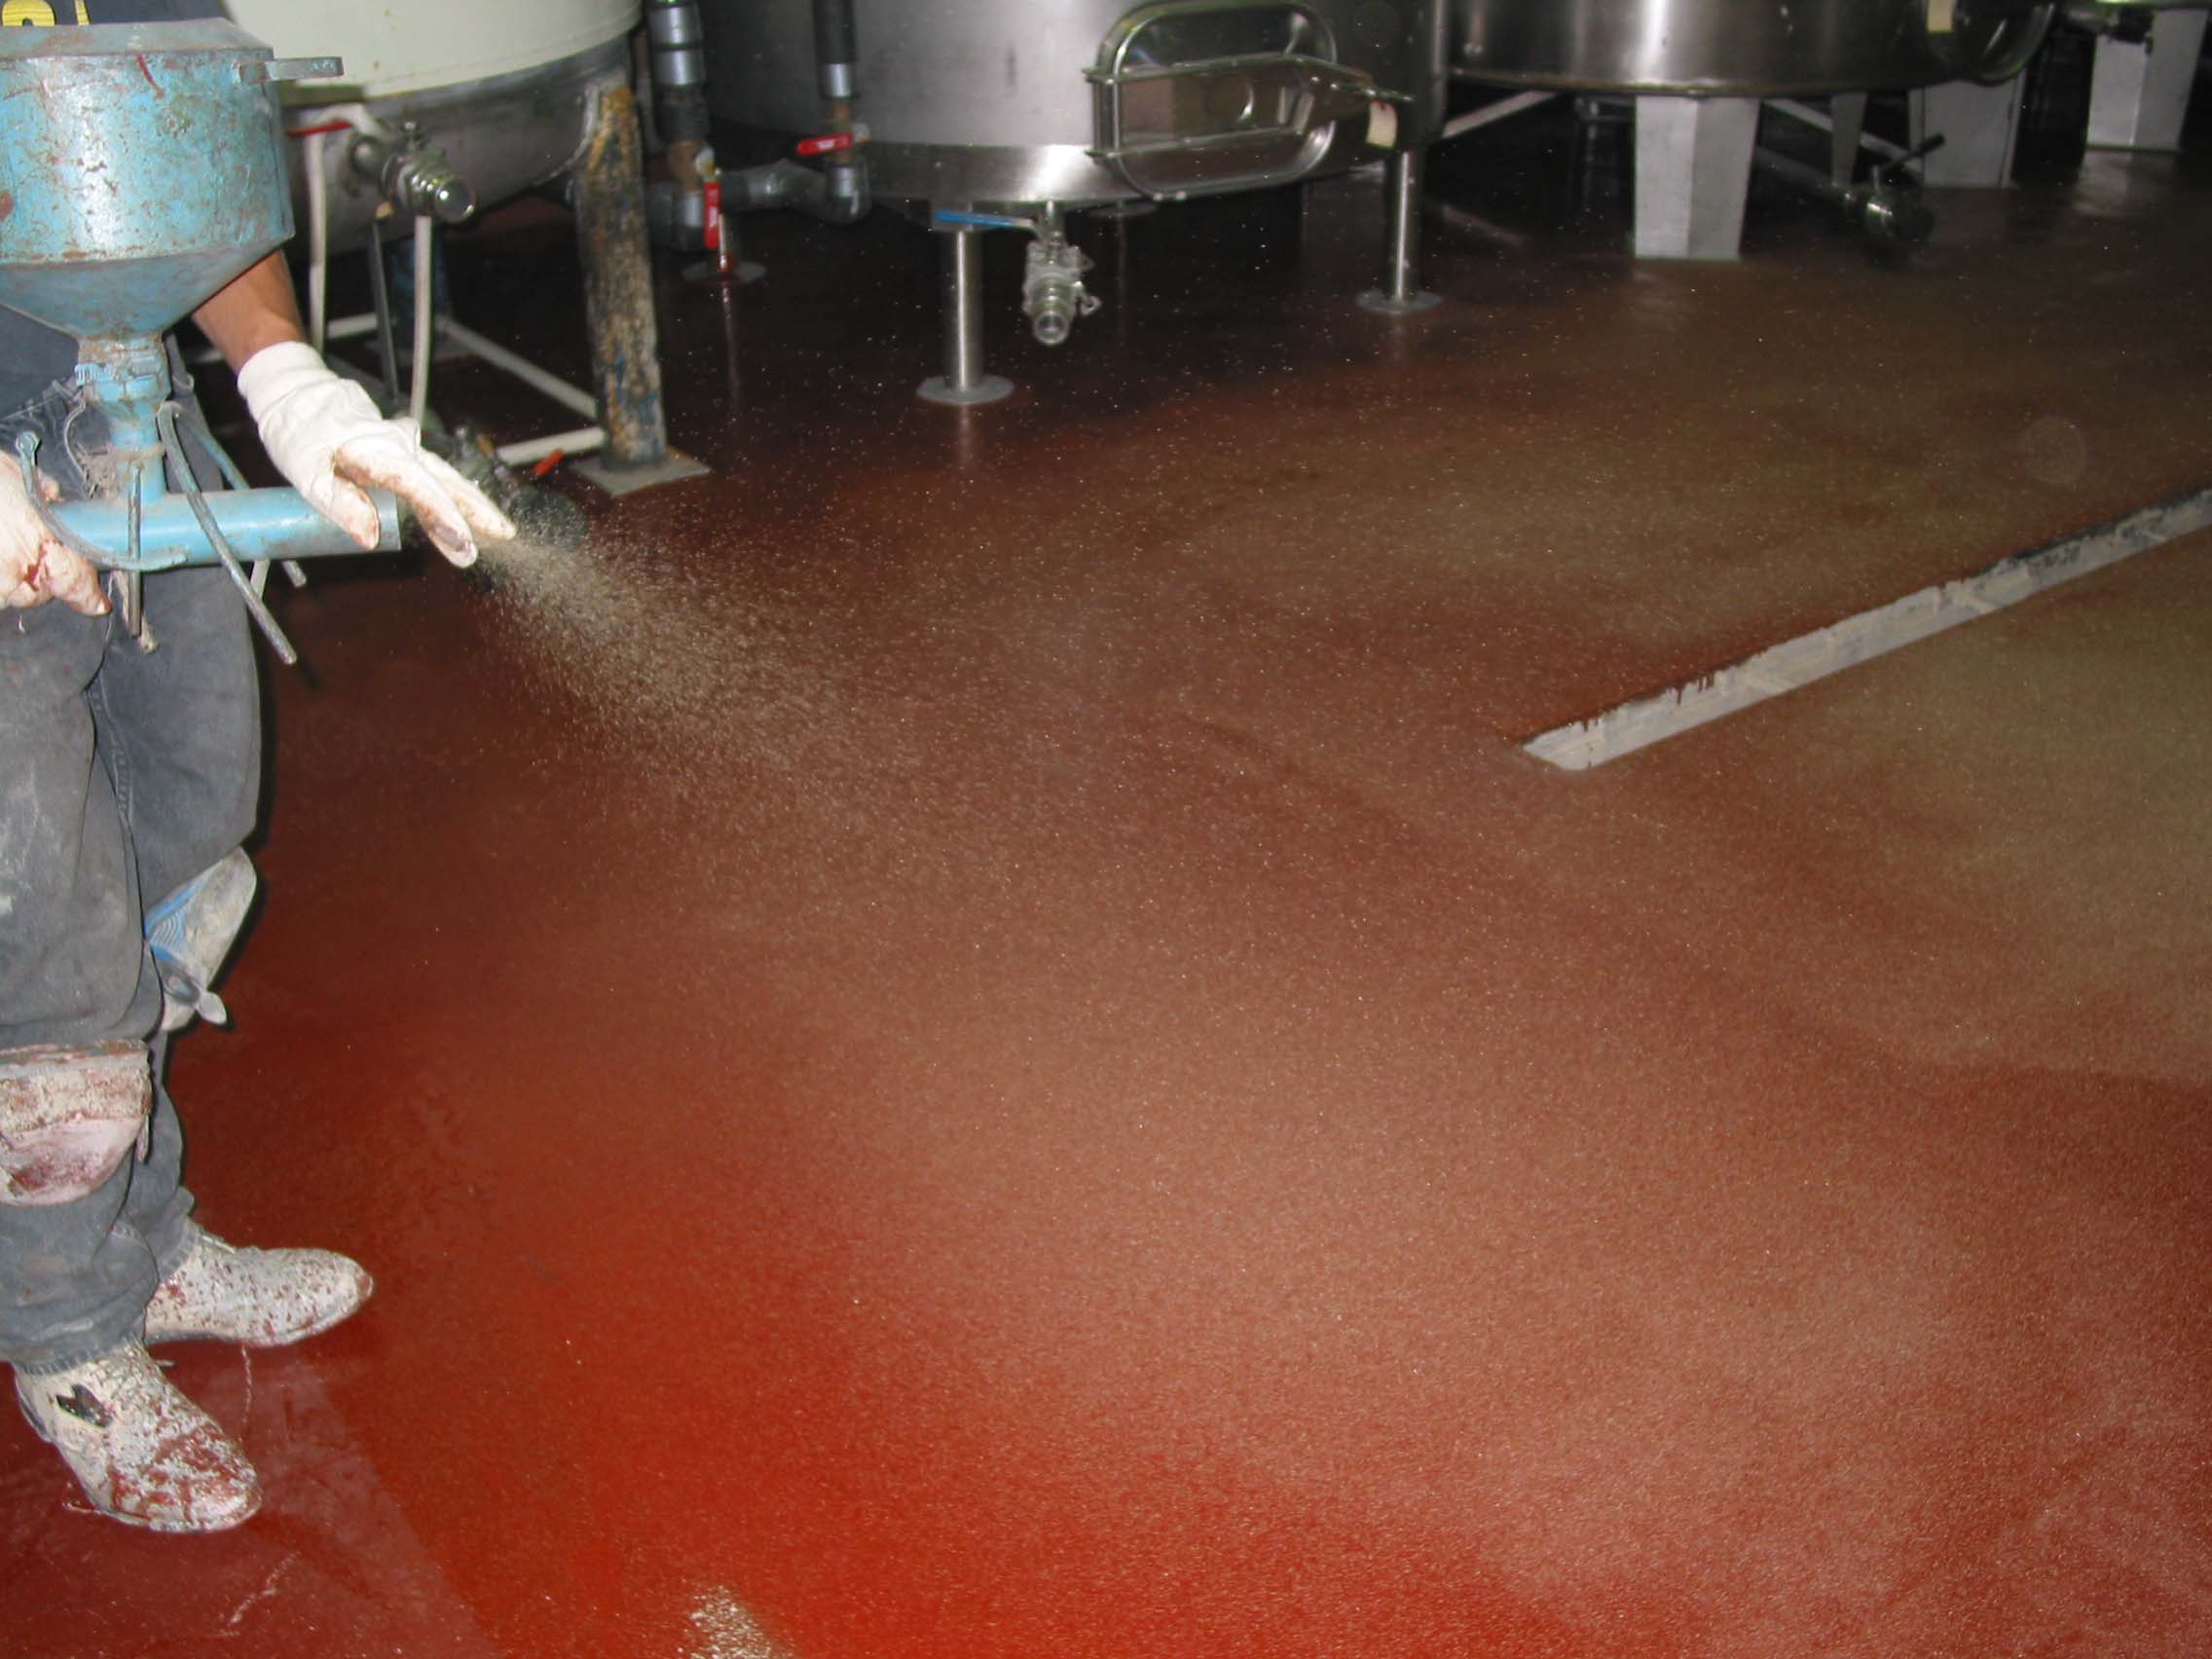
Application of topcoat:
The mixing equipment used to mix the coating must be clean and free of any contaminants that may be present in the equipment from previously used products. Two coats are recommended: one prime coat and one top coat. The first coat is applied at 5 mils whereas the second coat is applied at 10 mils. Pour a workable amount of the mixed coating on to the prepared substrate and spread the material evenly with squeegee. Using a lint free 5 mm nap roller, back roll the applied material to provide an even coat. If a non-slip sanded surface is required, a properly graded, dry, contaminant free grit should be broadcast on the wet surface of the coat and back roll to encapsulate the aggregate onto the coating. Apply the second coat in the same manner as the first. Allow to cure thoroughly before exposing to chemicals or continuous traffic. Alternatively, one may use Zeraus Non-slip Additive to achieve the desired attractive and uniform finishes. The Non-Slip additive is added directly into the liquid and blended thoroughly then applied at the same manner described above.
LIMITATIONS
- Do not apply ZeraDur™ if the substrate and ambient temperatures are below 10°C (50°F).
- Do not apply the topcoat less than 10 mils as an orange peel finish may appear or bubbling may occur due to insufficient material to self-level.
- Do not leave mixed material (Part A & B together) in the container for an extended amount of time; it will harden and warm up and smoke.
- Not recommended for areas subjected to steam cleaning, harsh chemicals or heavy impact.
- Do not use over existing floor without testing both the inter-coat adhesion as well as the adhesion of the existing floor to concrete.
- Not recommended as a water-proofing coating in suspended boiler rooms or commercial parking garages.
- Do not apply in areas where the humidity is greater than 85%.
- May discolor under direct constant exposure to UV, and due to some chemical exposures.
- Do not use on slab-on-grade without vapor barrier.